Tribological Testing by Profilometer
In previous editions of the LubeLetter, we described the importance of Tribology; the science of friction, wear and lubrication; and how the tribological properties of a lubricant can be measured. This issue takes a closer look into the measurement of one of those key properties, the wear scars generated by the 4-Ball Wear and SRV tests.
 Wear scars are typically reported based upon a two-dimensional measurement of scar length and width using an optical microscope. The better the lubricant is at preventing wear, the smaller the wear scar will be. For the 4-Ball Wear method, the result is reported as an average of six measurements of the size of the scar in millimeters, averaging the width and length of the scars on each of the three stationary balls used in the test. The same concept applies to the measurement of the scars generated by the SRV tests. However, unlike the 4-Ball Wear which only uses stationary balls, the SRV is not limited to a specific test specimen. Because the SRV tests can also be performed using a variety of materials, the wear scar measurements can be used to differentiate performance for an application’s specific materials, whether they are metallic or non-metallic.
But scientists and engineers at Nye believe that there is more to a scar than meets the eye when measuring a two-dimensional scar. A smaller scar may lead one to believe the lubricant performance is better, but is the scar really smaller? Well, that depends on how you look at it. Two lubricants could yield the same wear scar result, but looking at a third dimension by measuring the depth of the scar can be used to better distinguish the performance of one lubricant from another.


![]()
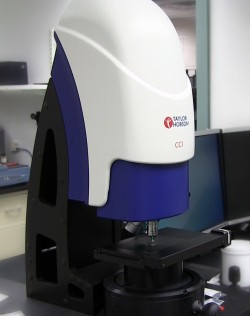
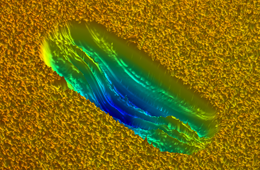
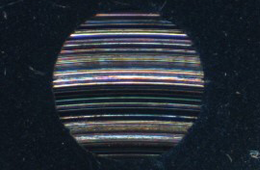
At Nye, our laboratory scientists use an optical Profilometer to measure this third dimension of a scar. By including depth, the volume of the wear scar can be determined providing a thorough wear scar analysis. Additionally, the Profilometer can be used to measure a material’s surface roughness. The image on the left is a 2-dimensional scar and the image on the right is 3-dimensional scar.
These measurements together; wear scar, scar depth and surface roughness; can be used by Nye engineers to select the best lubricant formulation for your application. Please contact your Regional Engineering Manager to discuss your specific requirements.

